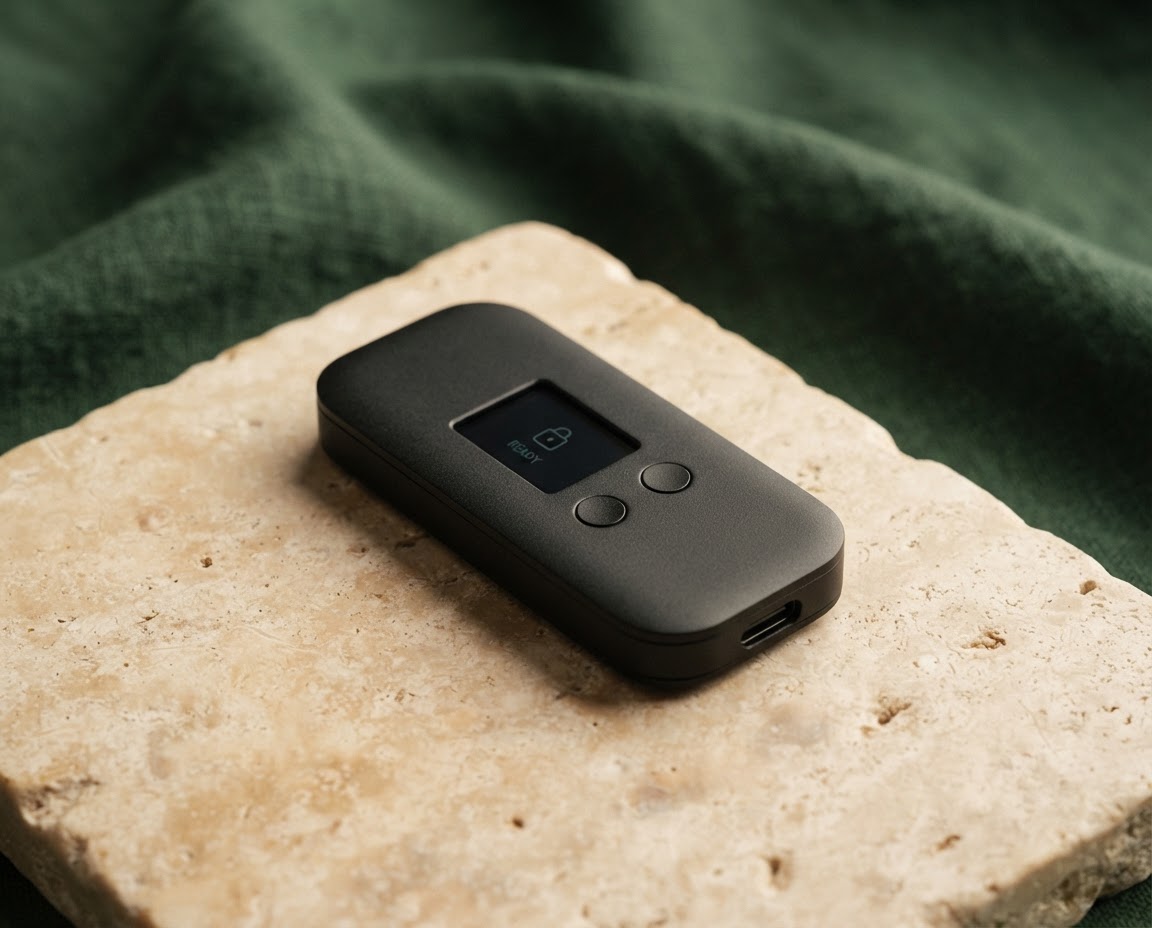
A BETTER WAY TO HOLD YOUR KEYS
A Trezor hardware wallet is a small, purpose-built device that helps you keep control of the private keys behind your cryptocurrency. It is not a tiny vault containing coins. Rather, it is a secure signing tool: your assets remain recorded on their blockchains, while the device protects the credentials used to authorize transactions.
Why a hardware wallet?
When you buy cryptocurrency through an exchange, the platform may manage the keys for you. That arrangement can feel convenient, but it means access depends on the provider, its security practices and its ability to keep operating. Self-custody changes the relationship: you hold the recovery information that lets you manage funds yourself.
A hardware wallet keeps private keys isolated from your everyday computer or phone. With a Trezor device, a transaction is prepared in a companion interface and then reviewed and signed on the device. The private key is designed to stay on the wallet rather than being exposed to a connected browser. This separation can reduce the impact of malware or a compromised computer—but it does not make unsafe decisions harmless.
Think of the wallet as a carefully guarded key ring, not a force field. You still need to protect the recovery seed, check the details on the device screen and avoid suspicious links. Self-custody offers more control, along with more personal responsibility.
A hardware wallet protects your keys. Good habits protect the rest.
How Trezor works
Trezor is a hardware-wallet brand with multiple device models and software tools. Depending on the model and supported assets, you connect the device to a computer or mobile device and use Trezor Suite or a compatible wallet interface to view balances, prepare transfers and manage supported coins and tokens. The software provides the transaction details; the hardware wallet is where you confirm what should be signed.
Before approving a transfer, review the recipient address and amount on the device itself. This independent display matters: if malicious software changes what your computer shows, the device screen gives you another place to verify the request. If something looks unfamiliar, pause and reject it. A transaction confirmed on a blockchain is usually difficult or impossible to reverse.
Your recovery seed is a set of words created during wallet setup. It can restore access if a device is lost or damaged, so anyone who obtains it may be able to take your funds. Write it down using the method recommended for your model, keep it offline in a private, secure place and never type it into a website, chat, email or ordinary computer file. Genuine support staff will not need you to disclose it.
Some people choose additional protections, such as a PIN or an optional passphrase, where supported. These features can add protection but also add complexity: a forgotten passphrase may make a wallet inaccessible even when the recovery seed is available. Learn exactly how a feature works for your device before relying on it, and never improvise setup steps from an unofficial video or message.
Choosing the right device
There is no single best hardware wallet for everyone. Trezor models differ in their displays, connection options, supported features and price. Start with the official comparison and documentation, then check that the exact assets and networks you use are supported by the model and software you plan to use. Token support can vary even when two assets share a familiar name.
Consider how you expect to use the wallet. A larger screen may make addresses and transaction details easier to review. A touchscreen or buttons change how confirmations work. If you plan to manage assets on a phone, confirm mobile compatibility before choosing. For long-term, occasional storage, your priorities may be different from those of someone who checks balances frequently.
Buy from Trezor or an authorized seller, and follow the manufacturer’s setup instructions. Be cautious of second-hand devices, pre-filled recovery cards, pre-installed seed words or a seller who asks you to use an existing recovery phrase. Set up the device yourself, verify its authenticity using official guidance and install software only from official sources. If a device arrives in a state that contradicts the instructions, do not transfer funds to it until you have contacted official support.
Everyday security, made simple
Security is a routine, not a one-time setup. Keep the recovery seed private and physically protected from loss, damage and unauthorized access. Do not photograph it or store it in cloud notes. Consider the risks of the storage method you choose, and make sure trusted instructions are available to you without exposing the words themselves.
Slow down when sending funds. Verify the full address and amount on the hardware wallet screen; for a large transfer, some people first send a small test transaction, understanding that network fees may apply. Bookmark official resources rather than following urgent messages or sponsored search results. Ignore direct messages promising support, recovery services or giveaways in exchange for your seed.
Keep device firmware and companion software current by following official update instructions, and read prompts before approving updates or transactions. Updates and model features change over time, so use Trezor’s current documentation as the source of truth. Back up recovery information exactly as instructed, and understand that losing both the device and its recovery seed can mean losing access permanently.
Finally, think about your own threat model. A hardware wallet can help protect against certain online attacks, but it cannot decide whether an investment suits you, guarantee a return, or undo a mistake. Start with a small amount while learning, keep records of what you are doing, and never invest money you cannot afford to lose.
When using decentralized applications, approvals may grant a contract permission to move tokens later—not just complete one immediate transfer. Read the requested action, use trusted applications and review or revoke permissions when appropriate using reputable tools. The exact steps depend on the network and asset, so consult official guidance rather than granting access because a page insists it is urgent.
THE TAKEAWAY
More control starts
with a little care.
A Trezor hardware wallet can be a useful part of a self-custody setup: keys stay protected on a dedicated device, while you make the final call. Choose a model that supports your needs, learn the recovery process before you depend on it, and treat every approval as a real decision.
Read Trezor’s official guidesThis article is for general educational purposes only and is not financial, investment, legal or tax advice. Product details, supported assets and security recommendations may change. Always consult current official documentation and verify information before acting.